What is Schema Monitoring and Atlas v0.27
· 4 min read

Hi Everyone,
It's been a few weeks since our last release, and I'm very excited to share with you the news of Atlas v0.27. In this release, you will find:
- Atlas Schema Monitoring: A new product that provides a set of tools and features to help you manage and monitor your database schema effectively.
- Pay via AWS Marketplace: Atlas users can now pay for their Atlas subscription via the AWS Marketplace.
- Atlas HCL Doc Portal: A new portal that contains always up to date, automatically generated documentation for the Atlas HCL language.
Introducing Schema Monitoring
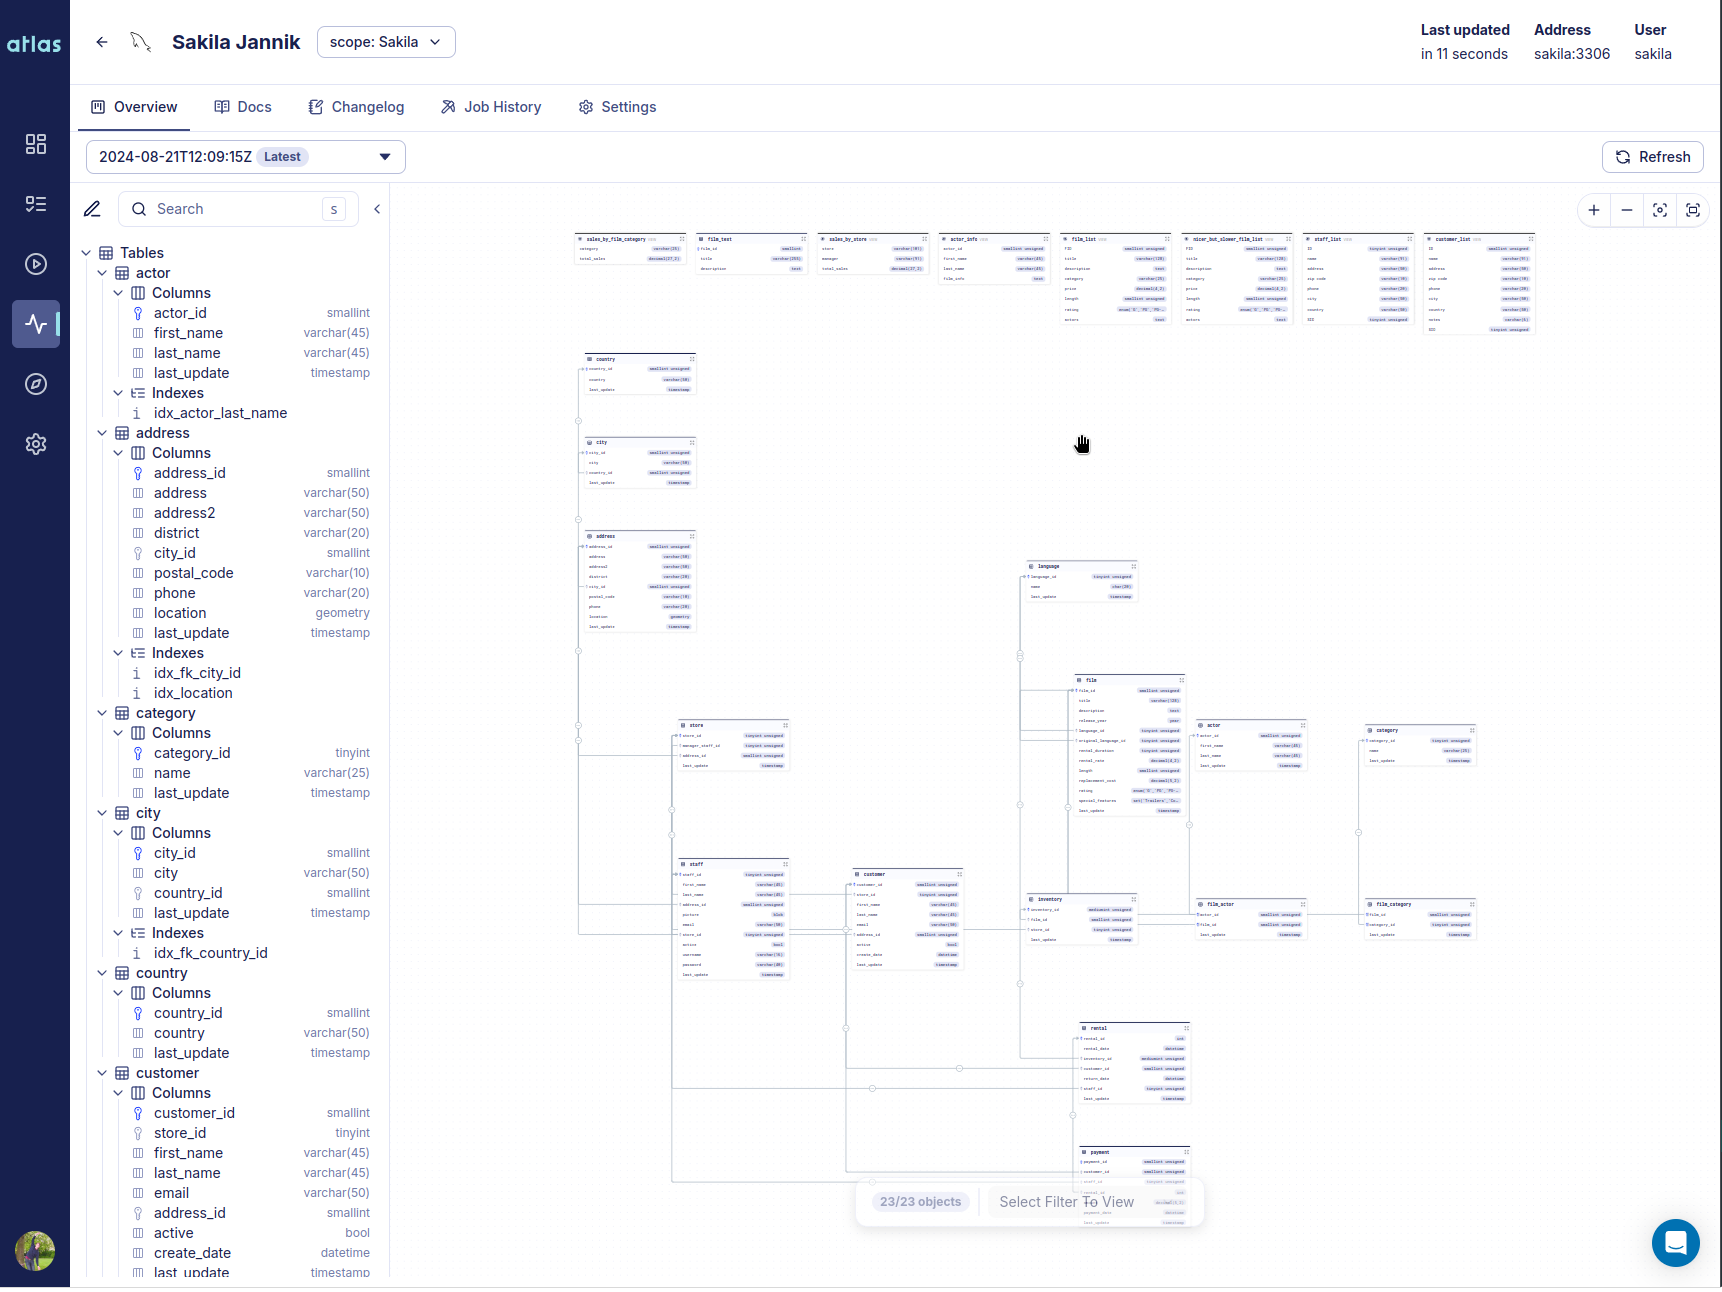
The hallmark of this release is a new product we call Atlas Schema Monitoring. Atlas Schema Monitoring provides a set of tools and features to help you manage and monitor your database schema effectively. Teams install an agent (container) on their database VPC which tracks changes to the database schema and reports metadata to the Atlas Cloud control plane. Using this metadata Atlas Schema Monitoring provides:
- Live visibility of your database schema with automated ER diagrams and auto-generated documentation.
- A Changelog of schema changes, so you can see how schemas change over time, and easily triage schema change related issues.
- Alerts Use Webhooks or Slack notifications to inform or alert teams that need to know about schema changes or drift.
Starting today, we are providng one free monitored instance to all signed up Atlas users.
A Live Demo is available for you to try out.


